
Choose the right purpose
Plan a patio, walkway, pool edge, or finished gathering space.
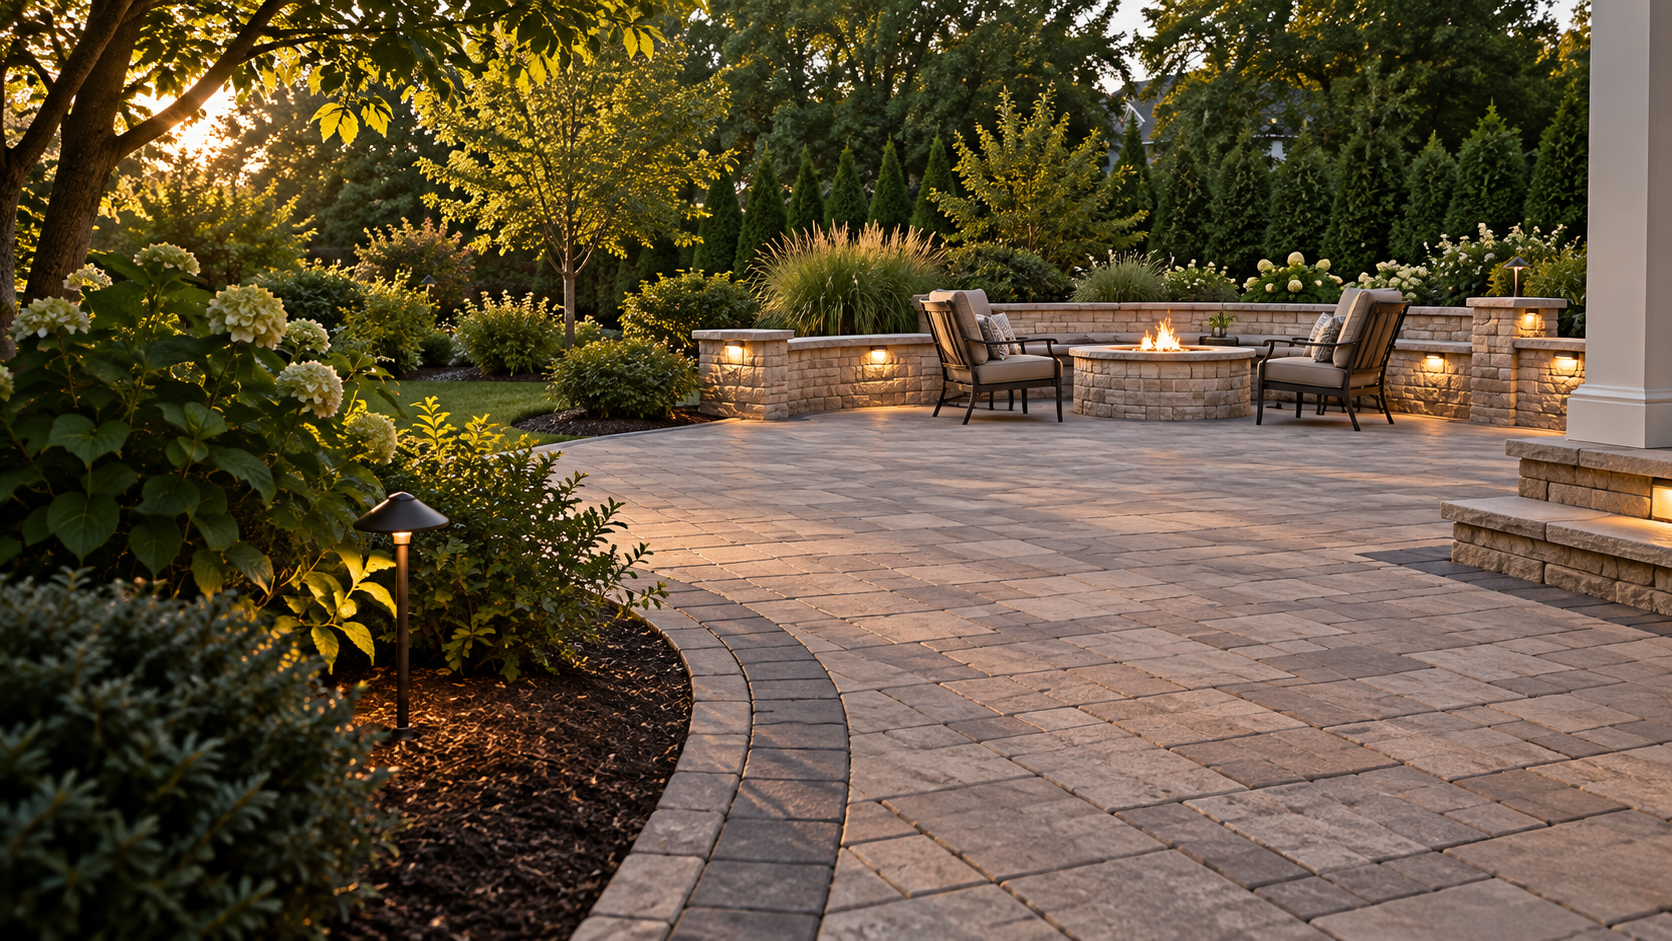
PATIOS. WALKWAYS. POOL SURROUNDS.
Shape a place to gather, walk, and enjoy more time outside. We’ll help you plan the layout, pattern, and details.
A PLACE THAT FITS YOUR LIFE
A paver project should feel like part of your home. It may become a patio for dinner, a clear path through the yard, or a finished area beside the pool.
Our family-owned Freehold team serves Monmouth, Ocean, and Middlesex counties. We listen to your ideas and help you compare practical design choices.
Plan a patio, walkway, pool edge, or finished gathering space.
Compare colors, patterns, and borders with nearby materials.
We consider movement, grade, drainage, and daily use.
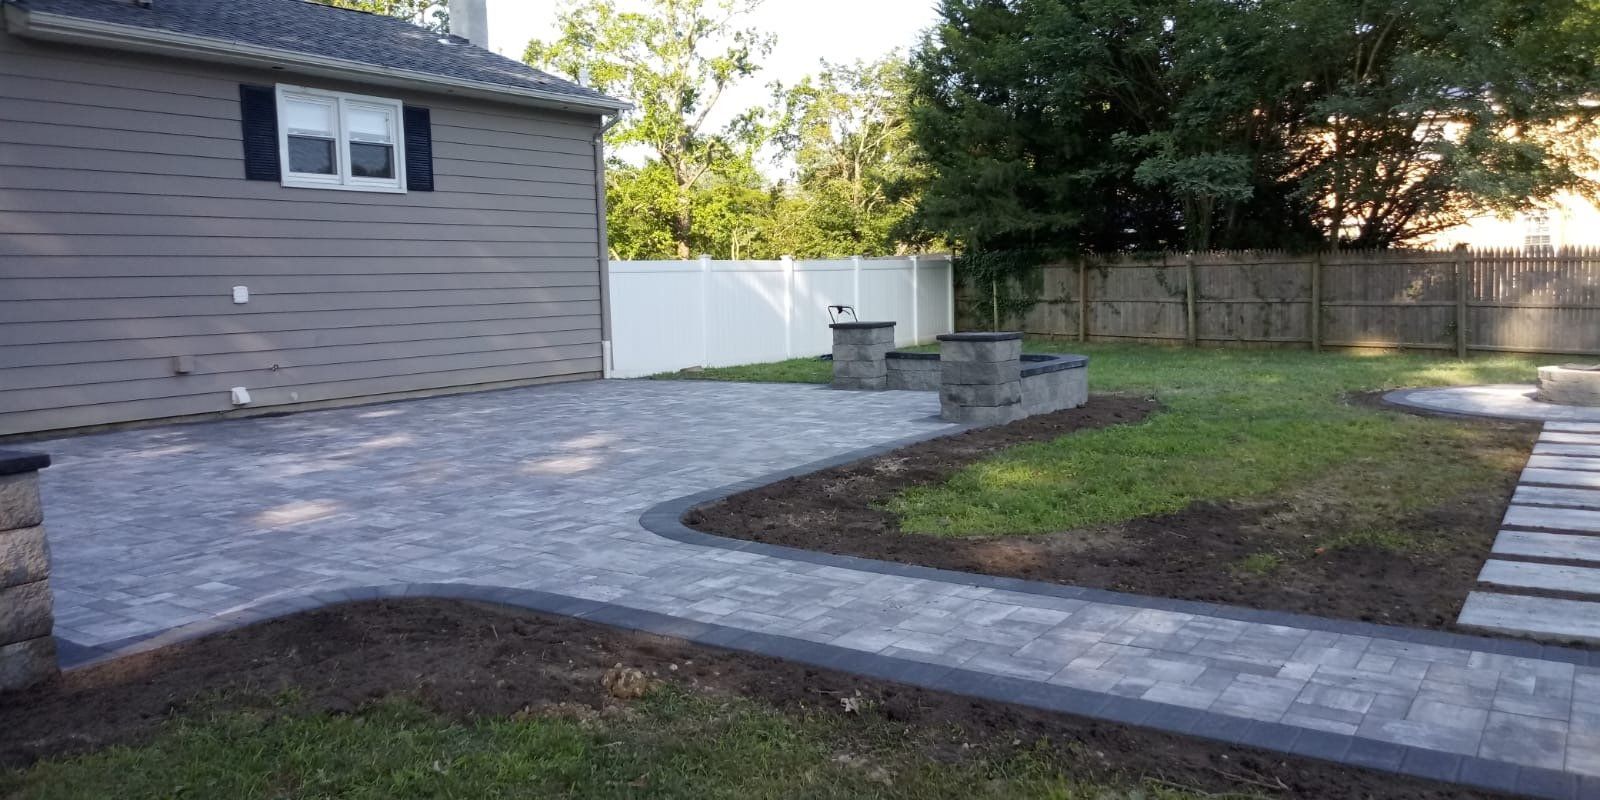
WHAT CAN PAVERS BECOME?
Each project begins with the space you have and the way you plan to use it.
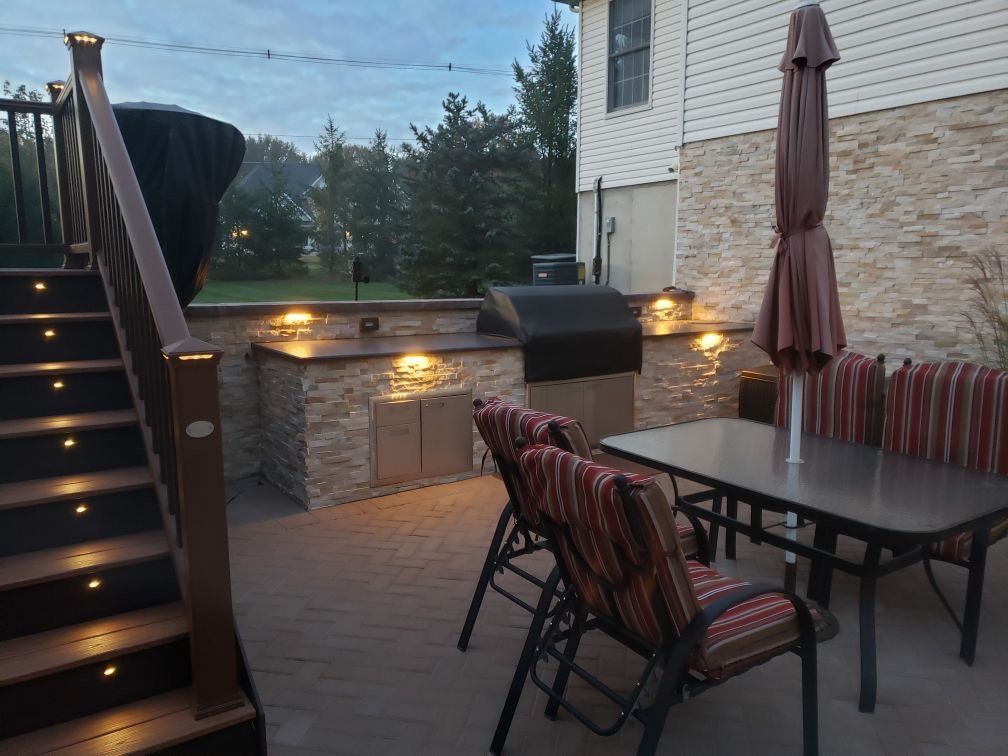
PATIOS
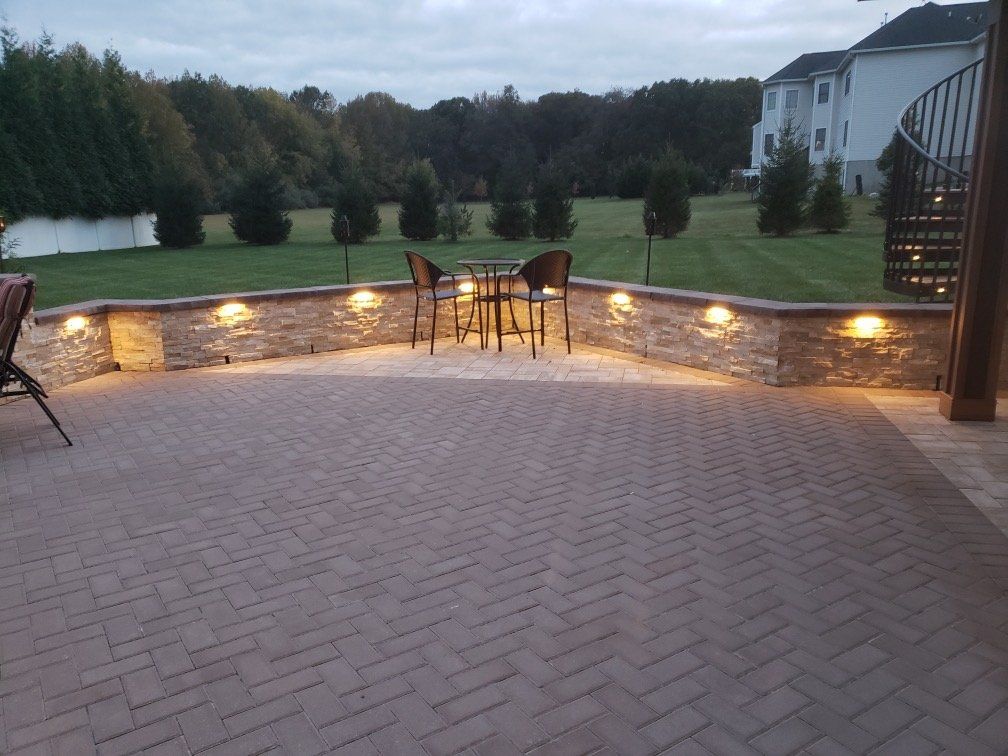
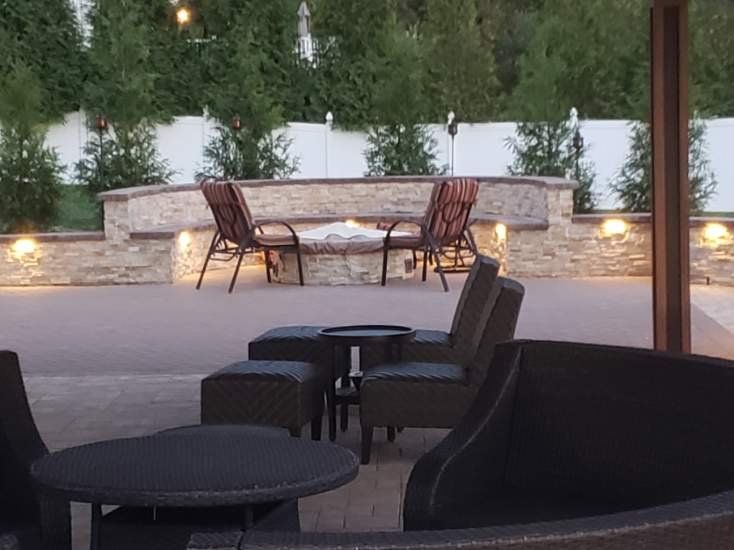
Size the patio around the table, chairs, and lounge furniture you actually want to use. Allow room to pull out seats and walk between the house, lawn, and gathering areas.
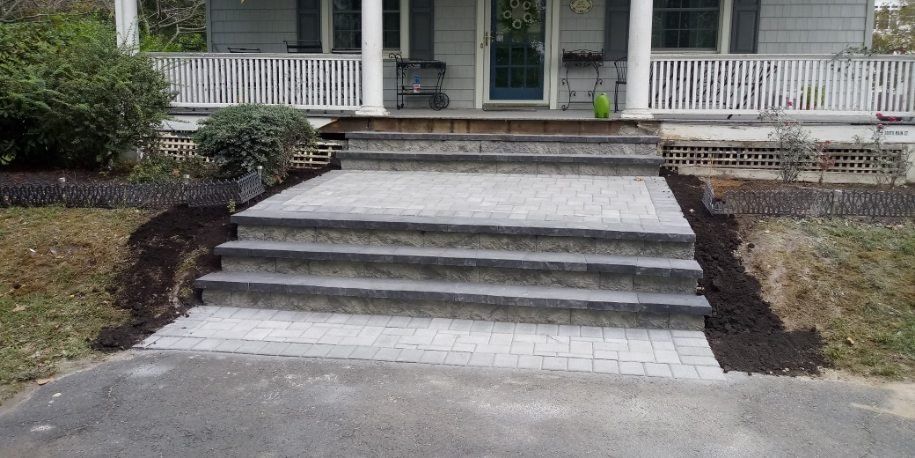
WALKWAYS & ENTRANCES
Connect the places you use most with a direct, comfortable route. Consider width, turns, steps, and the meeting point with the driveway or front entrance.
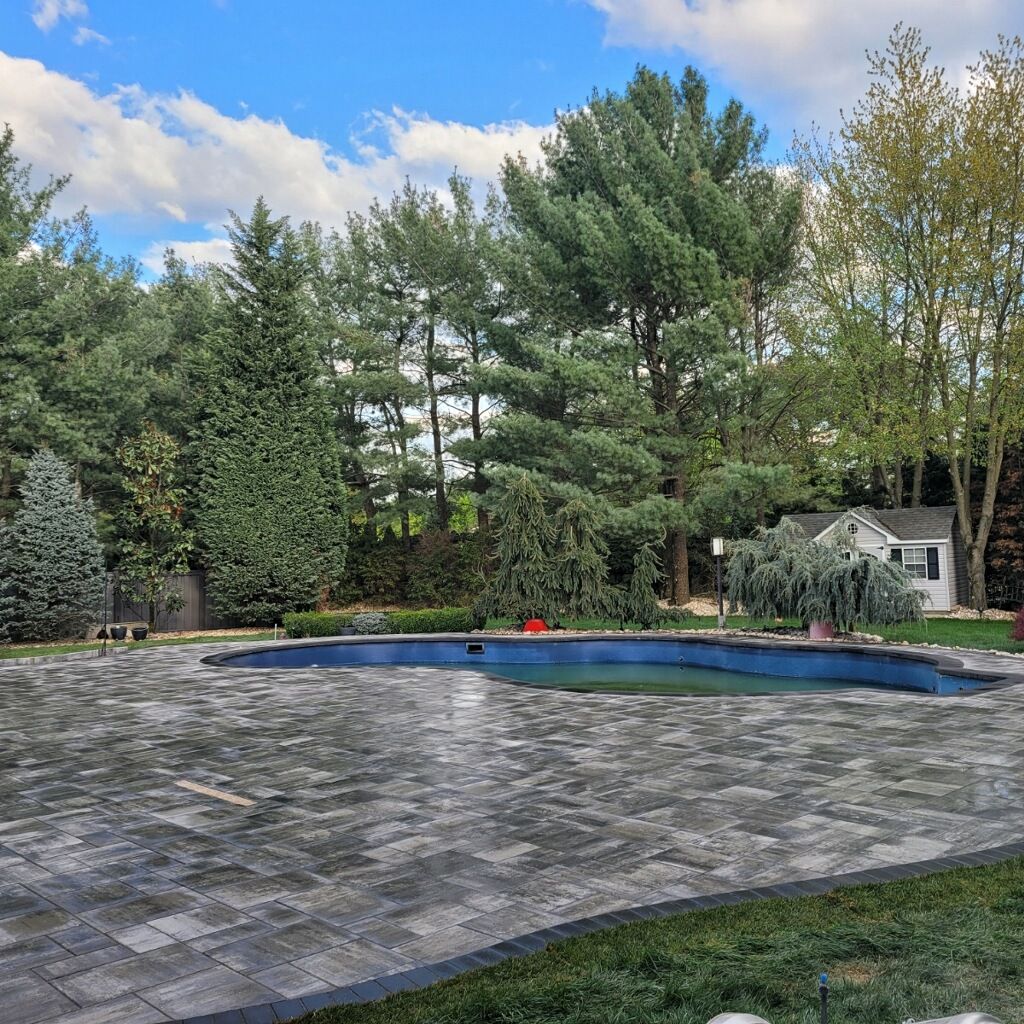
POOL SURROUNDS
Make room for lounge chairs, circulation, and access to the water. Plan pavers and coping together, with attention to surface selection and adjoining elevations.
MATERIALS & LAYOUT
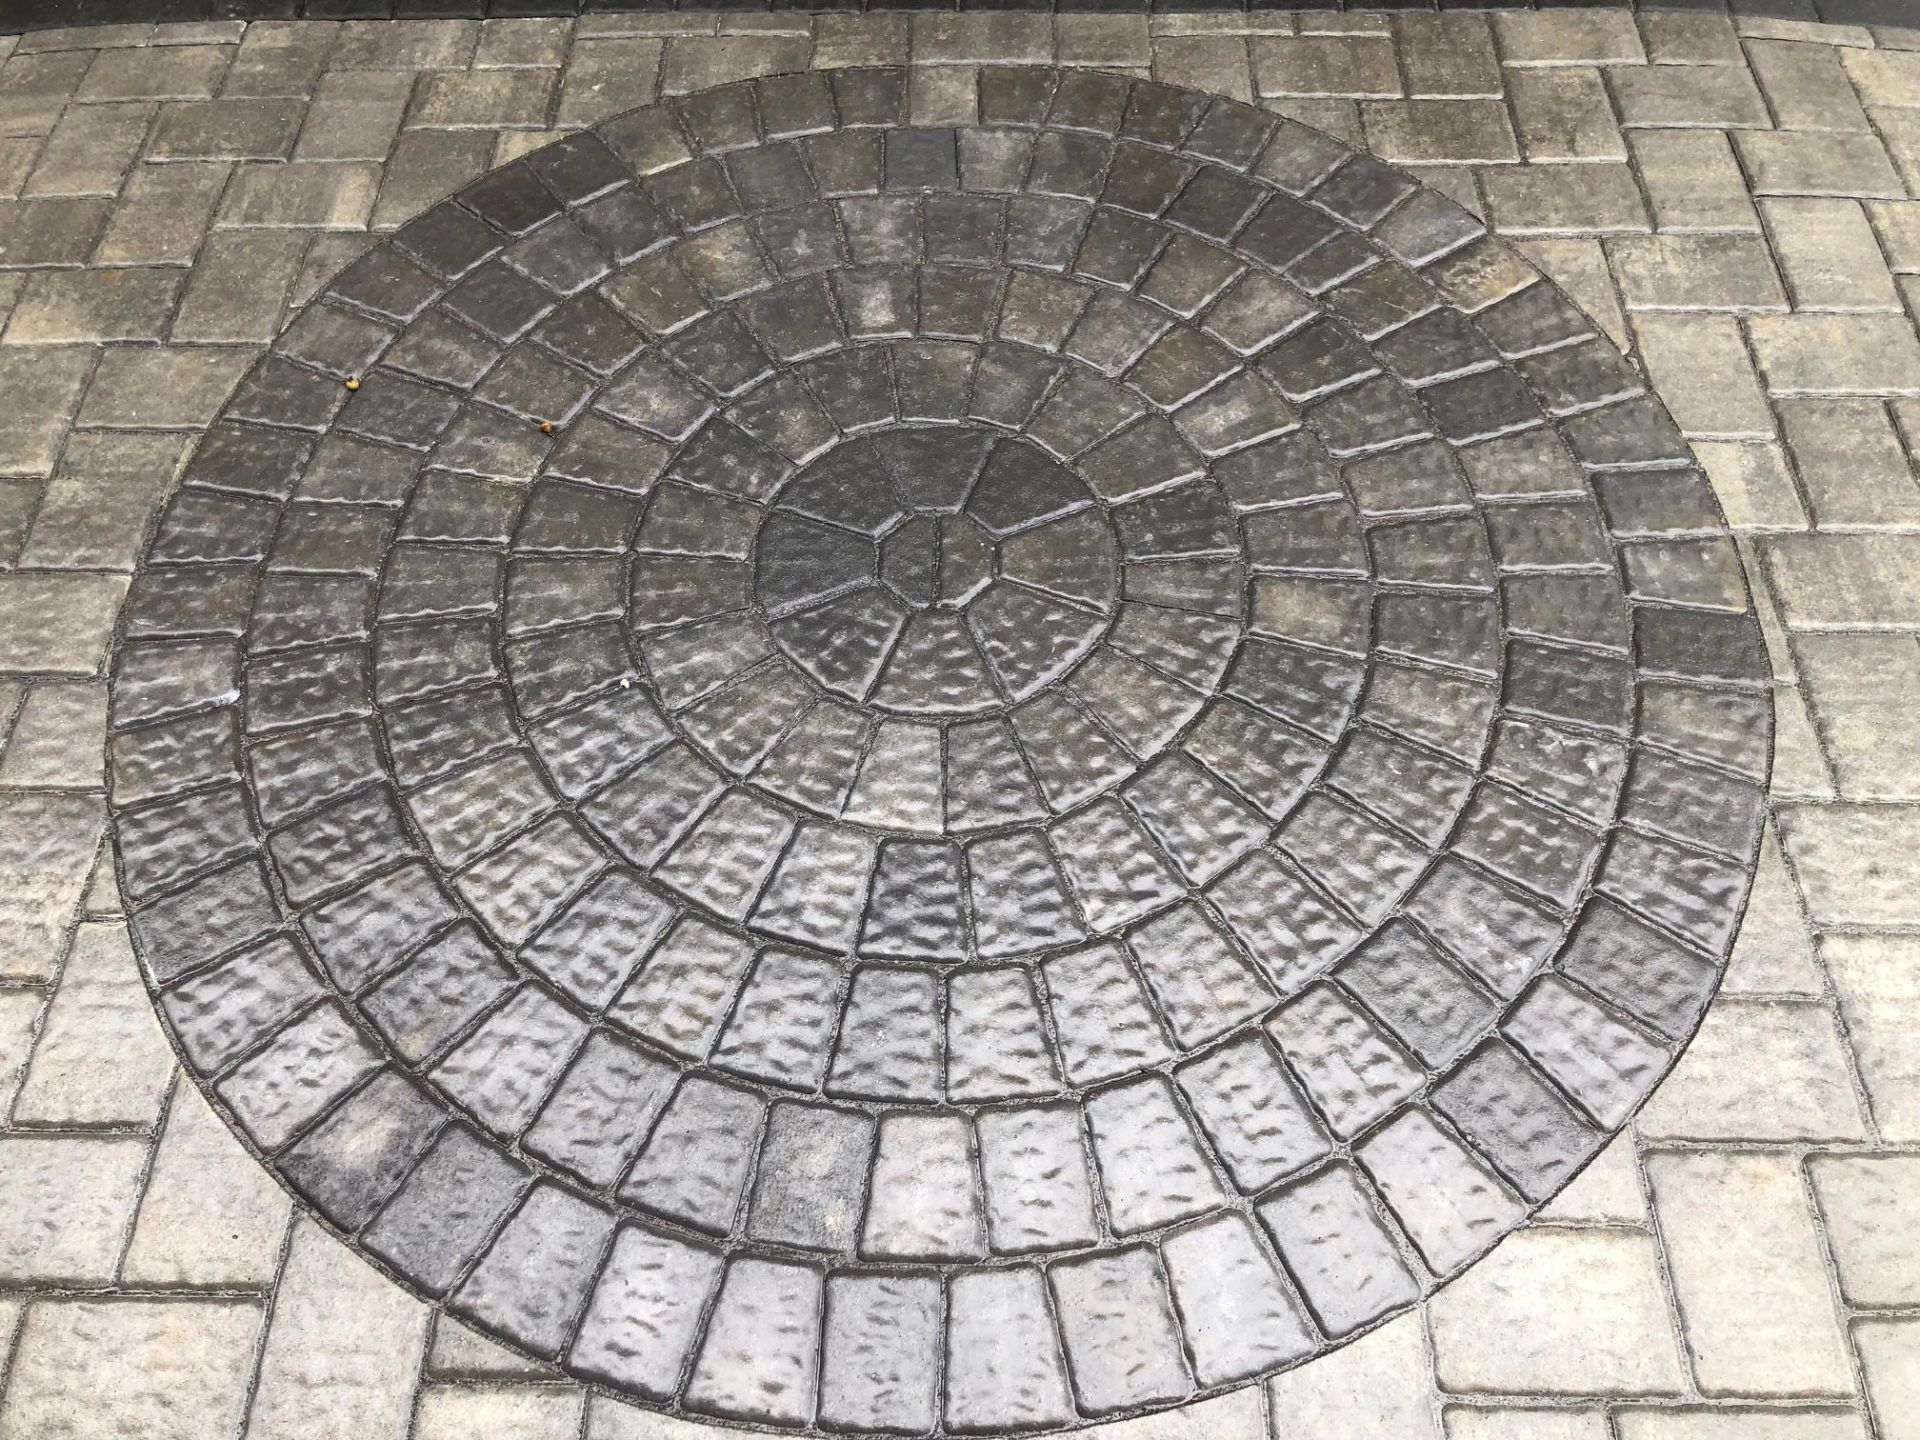
Start with the house and the way the space will be used. Then compare pavers as a complete surface, including the border, rather than selecting each detail in isolation.
Compare warm and cool tones against your siding, brick, or stone. Look at samples outdoors, where daylight and surrounding materials influence their appearance. Cambridge collections are among the options we can review.
Larger units can create a quieter field, while smaller units and mixed sizes bring a different rhythm. The selected product, shape of the space, and intended use help narrow down suitable patterns.
Use borders to frame a patio, guide a walkway, or pick up another color on the house. Resolve meeting points with lawn, steps, coping, and existing paving so the edges feel finished.
BUILT FROM THE GROUND UP
Your project plan should describe both the visible finish and the preparation beneath it. Site conditions and the selected paving system guide the installation details.
Mark out the intended use areas, routes, and transitions. We consider doors, steps, existing surfaces, and drainage before establishing the finished levels.
Remove the existing surface where required and prepare the area for its intended use. A properly prepared, compacted base supports the finished paving; its specification depends on the site.
Install the chosen pavers on the prepared bedding layer, carrying the pattern through the field and fitting the perimeter. Edge restraints help keep the layout in place.
Finish the joints and compact the surface as appropriate for the chosen products. Review borders, transitions, and care guidance before putting the space into everyday use.
Patios, pool surrounds, and vehicle areas have different demands. We plan preparation for the specific use rather than treating every paver surface the same.
MAKE THE SPACE WORK HARDER
Good decisions early on help the finished patio or walkway feel comfortable from its first day of use.
A FEW PRACTICAL ANSWERS
Practical answers for patios, walkways, entrances, and pool surrounds.
We can discuss removal and a new paver installation as part of your estimate. The existing surface, site access, elevations, and condition of the ground affect what preparation is needed. Photos are a useful starting point; an on-site visit helps establish the scope.
Begin with how the area will be used and the materials on your home. Compare samples for color, texture, scale, and available patterns. We can help review Cambridge collections and coordinate borders, steps, and adjoining features.
We consider finished levels, existing low areas, nearby structures, and the route water takes through the property. Any changes to grading or drainage need to be part of the project plan, rather than assumed to happen simply because new pavers are installed.
Yes. Planning these features together helps establish usable seating and walking space, resolve transitions, and identify utility routes before paving begins. Related features can be included in the discussion even if you are considering them for a later phase.
Sealing is optional for many concrete pavers. Suitability and timing depend on the product, its condition, and manufacturer guidance. We can discuss the appearance you want, cleaning needs, and whether sealing belongs in your maintenance plan.
Size, demolition, access, base preparation, drainage, material selection, borders, and connected features all affect the work. Weather and product availability can also influence scheduling. We’ll discuss those factors for your particular property.
LET’S MAKE MORE ROOM FOR LIFE OUTSIDE.
Tell us what you’d like to build. We’ll help you plan the next step for your home.
Free estimates · No obligation · Licensed & insured